Playwrightを使ったビジュアルリグレッションテストの追加が思った以上に簡単にできたのでやり方をメモ📝
Playwrightの導入
playwrightの導入方法に関しては以下を参照してください。
Playwrightによるビジュアルリグレッションテスト
画像ベースのビジュアルリグレッションテストのコードは以下を書くだけです。
import { test, expect } from "@playwright/test";

test("snapshot", async ({ page }) => {
  await page.goto("/targetpath/");
  await expect(page).toHaveScreenshot();
});
以下のスクリプトを実行するとPlaywrightによるテストが実行されます。
$ npx playwright test
実行時に以下のようなエラーが発生した場合には、npx playwright test -uでsnapshotを作成してあげると以下のように成功します🙆
pages/index.spec.ts:3:5 › snapshot ───────────────────────────

    Error: A snapshot doesn't exist at /tests/pages/index.spec.ts-snapshots/snapshot-1-chromium-darwin.png, writing actual.
$ npx playwright test -u

Running 1 test using 1 worker
  1 passed (694ms)
失敗した際には以下のようなメッセージが表示され失敗し、
$ npx playwright test

Running 1 test using 1 worker
  1) [chromium] › pages/index.spec.ts:3:5 › snapshot ───────────────────────────

    Error: Screenshot comparison failed:

      125968 pixels (ratio 0.14 of all image pixels) are different.
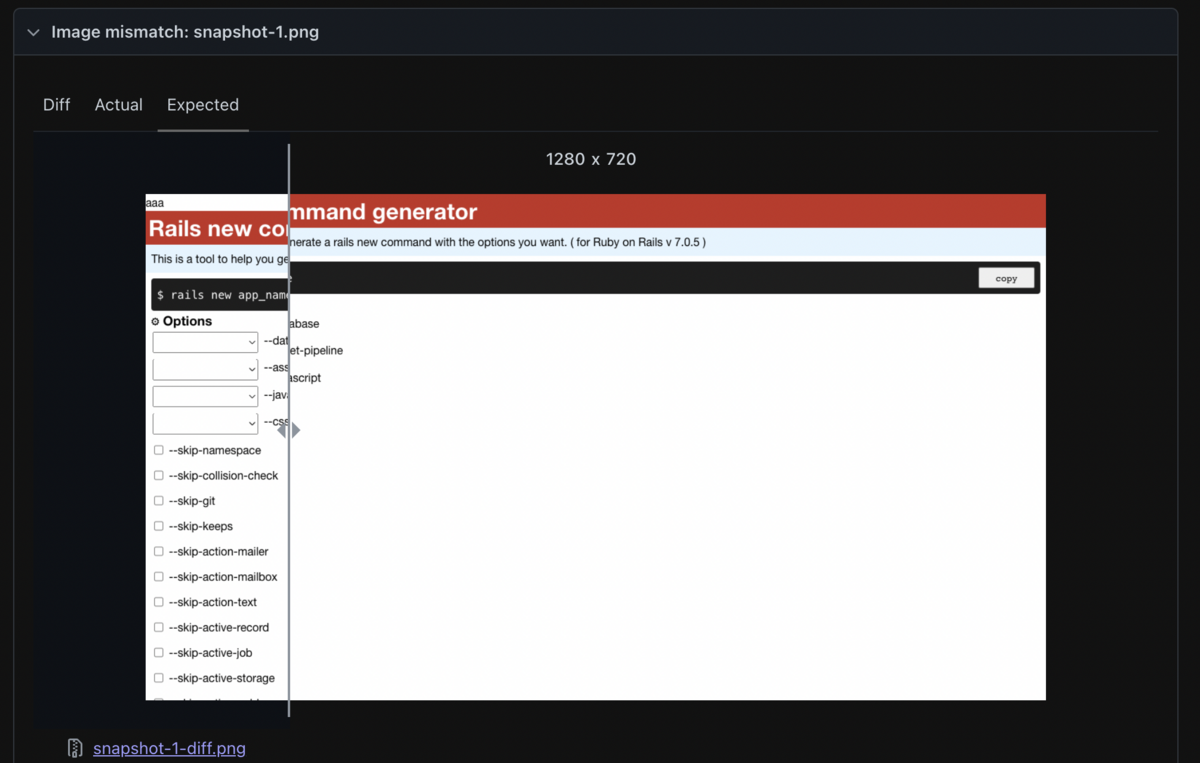
レポート画面が立ち上がり以下のようにスライダーでbefore/afterを比較したりできます。(デフォルトでhtml形式のレポーターが利用されるため)

tips
レポートは生成したいが終了時にレポートを起動したくない。
CIではartifactとして生成レポートを保存するがテスト後にレポート画面が開いてしまうと終了せずに困るようなことがあると思いますが、そういう場合には以下の設定にしてあげると生成はしつつ、レポート表示を行わないような設定ができるようです!
export default defineConfig({
  reporter: [["html", { open: "never" }]],